With virtualization, creating virtual machines has become very simple. However, most administrators still don’t always have the time for certain fine-tuning tasks that can save a lot of time.
That’s why this article shows how to use the VMware Customization Specifications feature. When aligned with a good golden image, you can save time installing packages, activating the OS, and even joining the VM to a domain.
Before creating a customization specification, make sure you have the following:
- A template of the target operating system (e.g Windows Server 2022).
- The VMware Tools package installed in that template.
- The template prepared with sysprep.
Steps to Create a Customization Specification
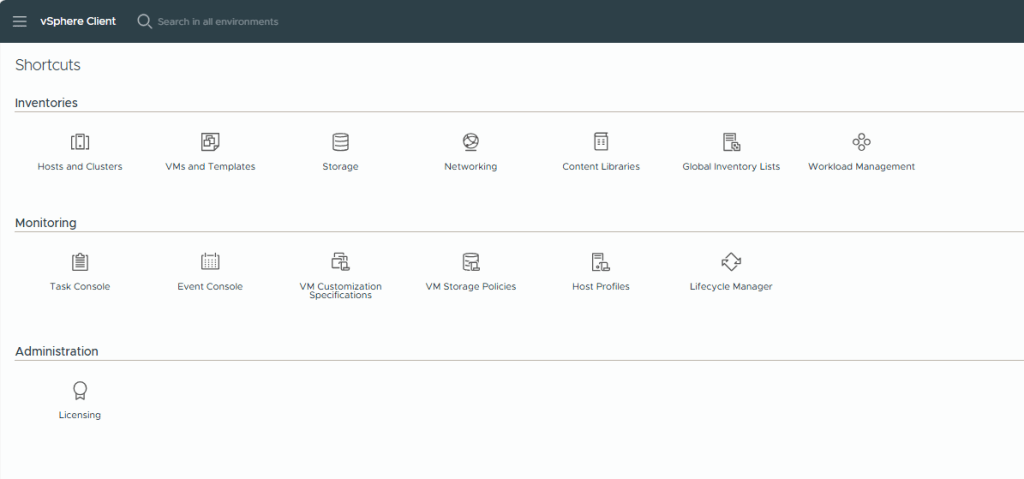
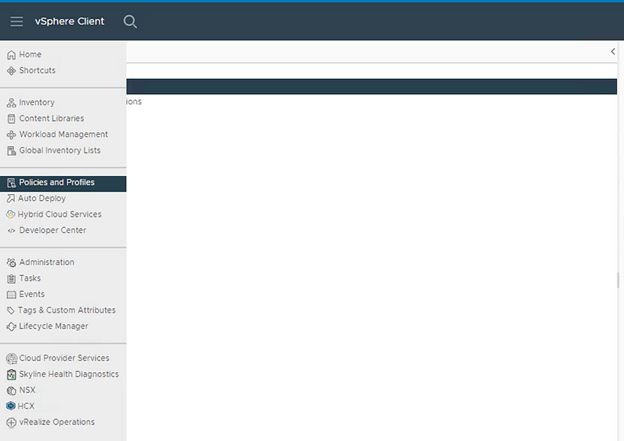
1. Go to “Policies and Profiles” in vCenter.
2. Select “VM Customization Specifications”.
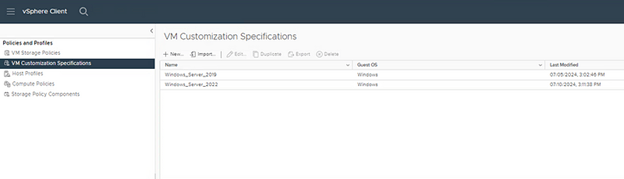
3. Click “New”.
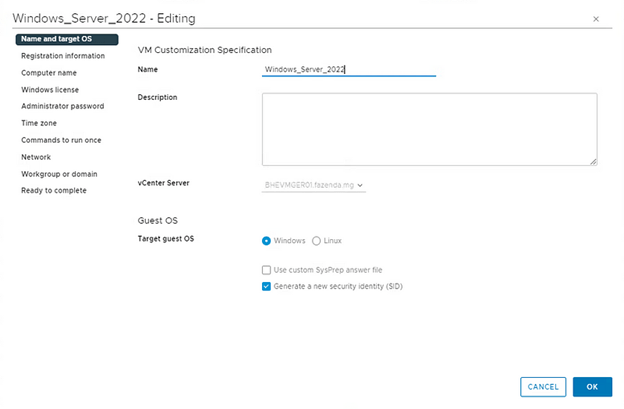
Now we must define the name and operating system. We should select the option “Generate a new security identity (SID)” to ensure that every VM created has a unique SID.
4. Enter the “owner name” and the “owner organization”.

5. Select how the VM name will be defined.

6. Set the Windows license (optional).
The way you activate your Windows could vary depending on your environment.
In the example below, I’m using a KMS Server. For this to work, perform the following steps during the template creation.
Run the commands below in PowerShell as administrator:
slmgr /ipk <chave genérica>
slmgr /skms kms.server.com:1688
The generic key for Windows activation is available here. However, this key will only work if you have a KMS server.
Note: It is not necessary fill out the “Product Key” field below.

7. Choose the time zone.

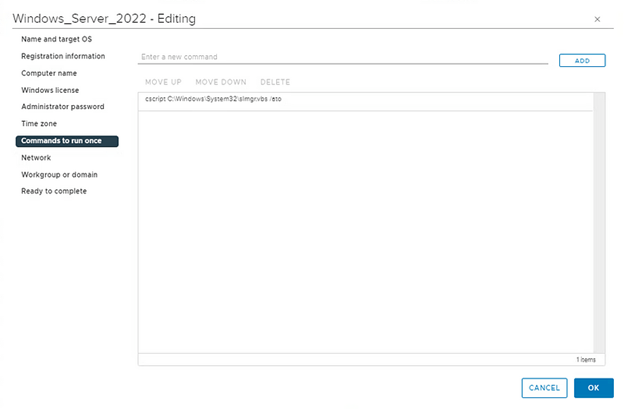
8. Define which commands to run.
At this point, we will complete the configuration for Windows activation. Add the following command:
cscript C:\Windows\System32\slmgr.vbs /atoThis command will be executed on the machine’s first boot.
Note: We can use this option for several configurations.
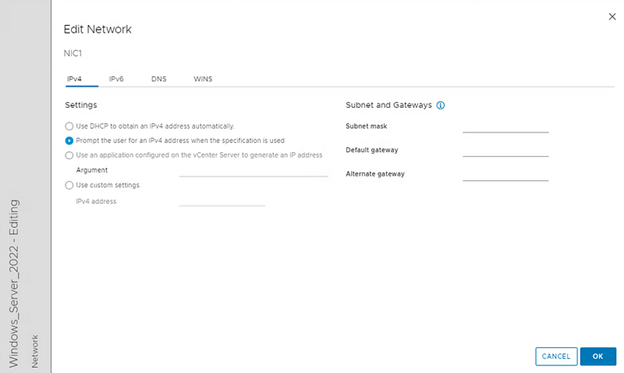
9. Edit the NIC1 in the “Network” session.

Select the second option, “Prompt the user for an IPv4 address when the specification is used.” Every time a machine is created, a prompt with the network settings will be displayed.
10. Specify the domain
In case you want the computer to automatically join the AD, you must provide the domain, username and password.
Note: The user must have enough permission to perform this action.

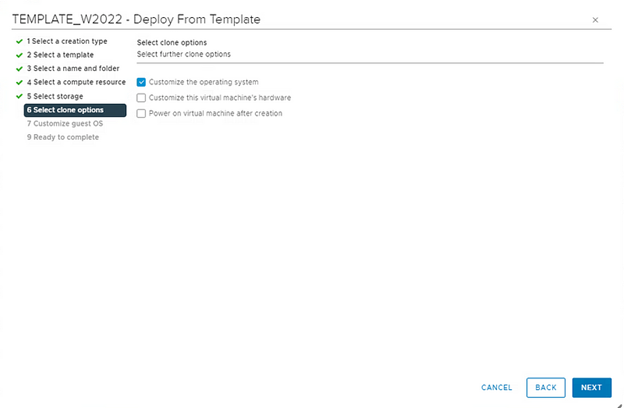
11. Deploy using the template.
In the deploy options, choose “Customize the operating system”, then the customization specification you created.
Here you can define the hostname and IP address.

Using this type of configuration, you can save valuable time during VM deployments. Hope you like it!

Leave a reply to The Future of VMware After the Acquisition: A Look After 6 Months of Broadcom Cancel reply